How to Paint Newly Plastered Walls | New Plaster in Room
When deciding on the proper way to finish a wall, plaster should not be overlooked as a viable option. Plaster can be quite stylish, while offering a number of textural designs. However, some are unsure of how to paint a newly plastered wall.
While not as straightforward as painting walls finished with gypsum board, the process is not overly complicated. It is quite achievable when armed with patience and know-how. Here’s what you need to know to get started painting newly plastered walls to achieve a professional quality outcome.
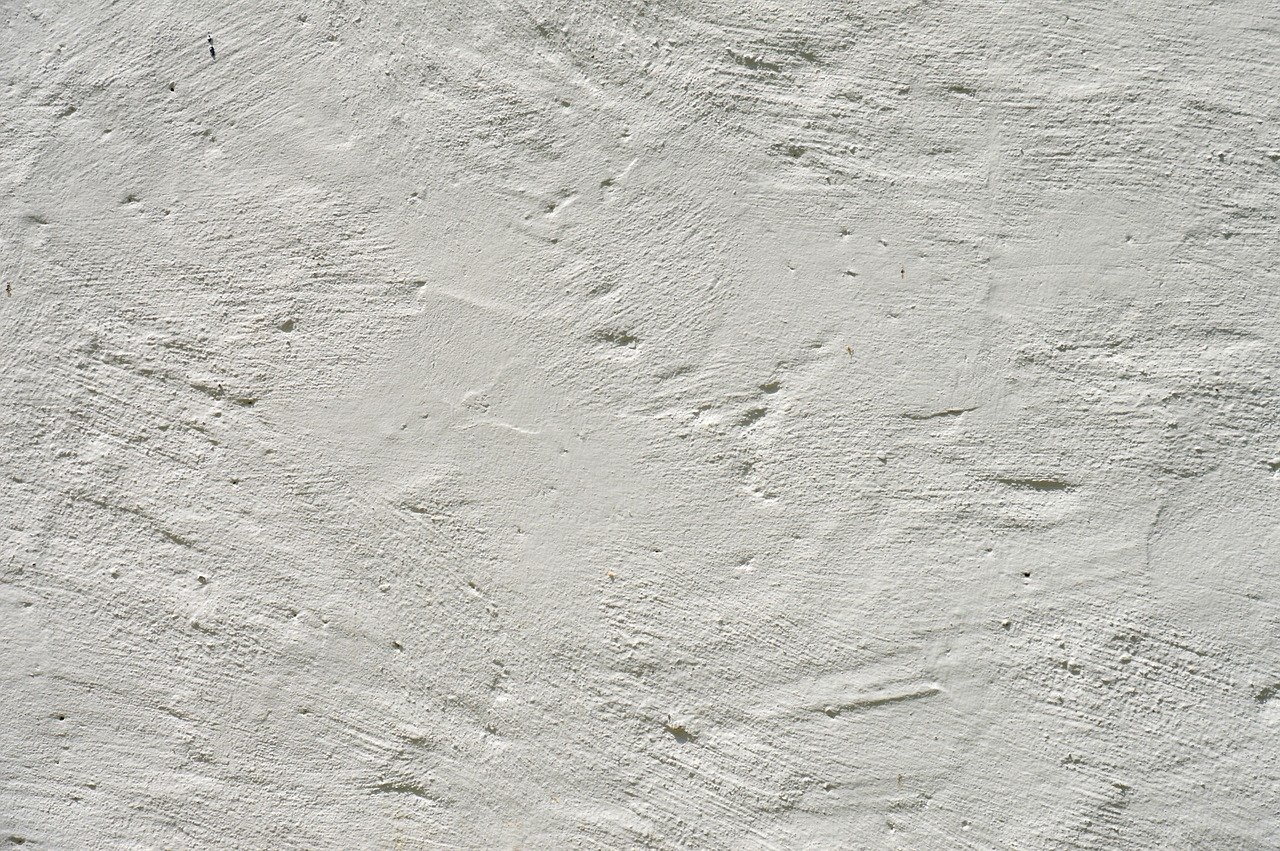
First and foremost, you’ll need to determine that your new plaster wall is fully dry. Whether it’s freshly skimmed indoor walls in an indoor room or rendered outdoor walls, this is the most important step in your prep for paint. Plaster, much like concrete, contains cement which will gather much moisture from the air. Waiting for this new material to dry can take weeks. It is, however, quite necessary.
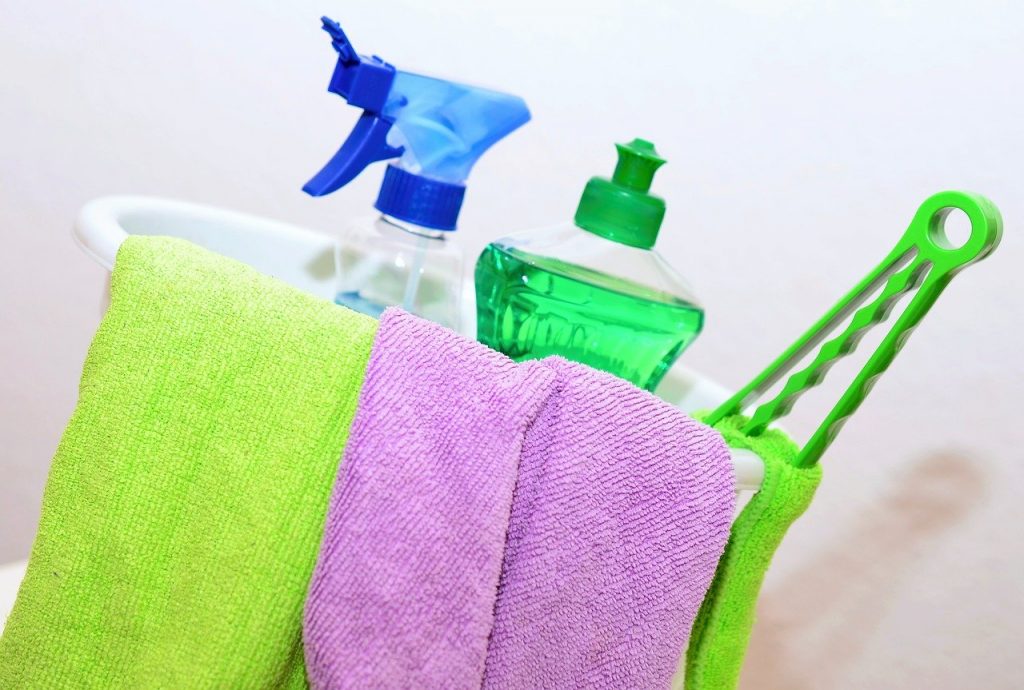
After the plaster has fully dried, you should wipe down the surface with dry rags. This will aid in removing any dust or bits of debris that might have gathered on the wall while it was drying. At this point, how you proceed depends on your specific project.
The process of painting the wall in the room will differ from painting rendered outdoor walls. You will need different supplies to prepare depending on which you project you are taking on.
Painting an Outdoor Rendered Wall
Newly plastered rendered walls will require an application of stabilizing primer. If the wall had previously been plastered, you may have noticed the old finish cracking. This is because moisture penetrates the finish which then either freezes or allows moss to grow, weakening the surface. Stabilizing primer will prevent this. It must not be overlooked. Follow the manufactures instructions on the container closely, and allow plenty of time for the primer to dry.
After the stabilizing primer on the new rendered wall has dried, you can move forward with painting. When selecting the paint you will use, be sure to choose a product specifically made for exterior use. This is absolutely vital as an interior formula will not hold up against the temperature fluctuations or weather it will surely be exposed to.
There are many good exterior paints you can choose from today. Be sure to follow all instructions from the manufacturer toward the achievement of the best results. Don’t skimp on prep work such as taping or the use of drop cloths. This will spare you much headache during the cleanup stage when you’re done.
The Painting of New Indoor Plaster Walls
Now we’ll discuss how you should go about painting plaster walls in an interior room. The process is slightly different than finishing rendered outdoor walls, but the theory is more or less the same. The surface (e.g. in the garage) must be sealed for blocking moisture from penetrating the plaster. This seal is achieved by applying what is commonly known as mist coat.
Before you begin, you may notice the odd smell of plaster. This odor can be quite apparent,if not unpleasant, indoors. This is no cause for alarm, however, as sealing the plaster will rid the room of the scent. The mist coat is made by mixing emulsion paint, which is the paint that you will use for plaster walls, with water. The mixture should be roughly one to one, although exact accuracy in this regard isn’t absolutely necessary. Be sure the mist coat is thoroughly mixed before application.
Applying the mist coat can be very messy. Be sure that any and all measures toward the protection of floors, trim or furniture are taken in the room before starting. Although tedious, this preparation is the keystone of professional quality results. Skip this at your own risk.
Mist coat is quite thin and apt toward running, so work patiently. Use rollers and brushes while applying it as you would with normal paint. Be sure that you roll or brush over drips and runs as they occur or they will show through the top coats. Mist coat must be given ample drying time. This will generally mean sitting at least over night.
Once the mist coat has dried, the top coats can be applied. Thorough coating will almost certainly mean applying more than one coat. Emulsion paint will be applied in the same manner as any other paint, using rollers for large areas and brushes for corners and edges. Be sure to allow the paint to dry quite thoroughly between each new coat.
Video: Painting Newly Plastered Interior Walls Beginners Course
This short video explains the common method for painting an interior plastered wall. It’s recommended that you take the time to watch it, so that you can be sure you fully understand the process before you start.
Although the process may seem arduous, you’ll see it’s really quite simple. Make sure that all recommendations made here are followed to ensure success.
You are currently viewing a placeholder content from Youtube. To access the actual content, click the button below. Please note that doing so will share data with third-party providers.
The Beauty of Success
At this point, you will have finished your project. Plaster can provide far more elegant, professional results than simple wallpaper or painted gypsum board. The application of paint in this method isn’t nearly as complicated as it may seem at first. It is quite achievable by even the most unsure of beginners.
Taking on projects like this around one’s own home provides great confidence. Experience gathered in this way can be used toward many other endeavors around the house. How plaster walls can beautify the home, whether inside or out, can hardly be overlooked.
Finishing them is an easy project that is ultimately very gratifying. The experience should bring pride to the home’s owner or whoever accomplished it.