How to Paint Stripes on a Wall | Horizontal vs. Vertical
Painting stripes on walls is an easy and affordable way to make a significant impact in a room. With a few simple instructions and basic painting supplies, you can have an almost-instant transformation in your Ohio home. Being organized is vital. Below we outline the steps needed to have stripes in any room.
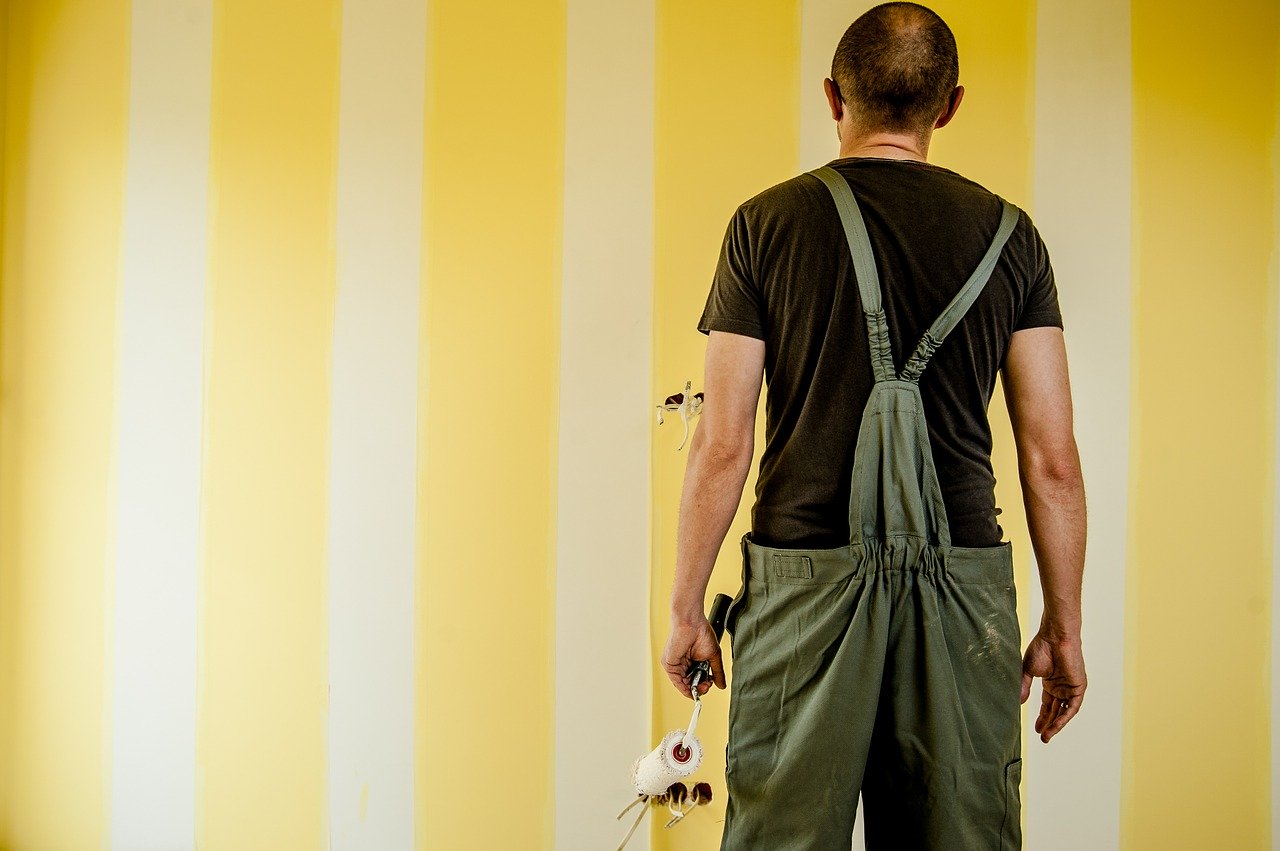
Stripes are versatile. They can be modern when they are multiple thicknesses and traditional when they are of even widths. Bright, contrasting colors are bold, while tone-on-tone is classic. Stripes are also perfect as an accent wall or in a chevron pattern.
Choose Your Colors and Thickness
First, choose your palette and stripe thickness. Will your room be tone-on-tone lines or multi colored? Different textures or finishes can add dimension. Contrast matte and shiny finishes of the same colors for a subtle look.
Choose between vertical or horizontal stripes. Horizontal lines make a room feel larger and more open. Vertical stripes can add height. Create a stately living room using a vertical orientation. Make your kitchen seem larger with a horizontal orientation.
Stripes are usually between 4 and 12 inches thick. Skinny lines, like pinstripes, are not only tricky to paint they feel busy. Very wide stripes can feel heavy. Thinner lines work best in small rooms, while large rooms can handle thicker lines. The lines can be evenly or unevenly sized. Vertical stripes are more common than horizontal ones.
The room which is being painted will affect the color choice. A child’s room might look good in a rainbow pattern, while a bedroom might be best in shades of blue.
Test the colors and stripe width by placing colored pieces of paper of the desired width side-by-side. See how the pattern looks and adjust the width or the palette as needed.
Paint the Wall
The lightest stripe color is usually used as a base coat and goes over the entire wall. Wait for the paint to dry completely before starting the next step, between 12-48 hours.
How to Measure the Stripes
Measure the total height or width of your wall – height for vertical and width for horizontal stripes. Divide that measurement by your chosen line width or number of lines. Adjust the stripe width slightly based on your wall’s dimensions. The eye can’t notice a quarter- or half-inch difference in thickness.
Choosing an odd number of stripes ensures that the first and last stripes are the same color on each wall. This is especially important with horizontal orientation. Depending on the design and room layout, a stripe wrapping into a corner is considered all right.
Another method is to find the feature wall and measure from there. The wall measurement divided in two is the middle of your wall. Place a mark at that spot.
Then, place equidistant marks on either side of the middle. For 10-inch stripes, mark 5 inches on either side of that middle mark. Now, your focal stripe is created. Measure all the other lines out from this primary one.
Mark Off the Stripes
Using a pencil, mark the stripes, starting in the least seen corner unless you are doing the central-stripe method outlined above. Measure and mark the lines as you go around the room. Then, draw the lines all the way down the wall using a level.
A laser level is a useful tool for this project. It points a straight beam of light that is easy to follow with tape. It is not necessary to pencil the lines first when using a laser level.
You can also use a legend. Mark your stripe pattern on a stick and use the stick as a guide. Using a legend avoids the need to measure the pattern repeatedly.
Take your time on this step – proper planning results in straight lines. Plus, you don’t want a stripe the wrong color. There is an easy fix, however, just paint over it. Just wait for it to dry first.
How to Tape the Stripes
For clean, perfect lines with no bleeding, painter’s tape is critical. Tape just outside your pencil lines pressing firmly to prevent bleeding. Press firmly so that paint does not pass under the tape. A plastic putty knife or credit card helps press it into place.
Painting Each Stripe
Using a roller or brush, paint each block of color. If you have smaller stripes, get brushes or rollers that correspond in size.
Paint over the edge of the tape for perfect, crisp lines. You may need two coats. With multiple colors, mark the stripes with an X or another symbol to denote which color goes where. If you have painted one color as the base coat, paint every other stripe.
Another trick to avoid bleeding is to paint the base color along the edges of the tape. This creates a seal along the edge. Then, paint the correct colors over the base color. Any bleeding is done by the base color and will not show.
Often, professionals use paintable caulk to seal the edges. If you use caulk, smear a tiny amount along the border. Also, paint over it while it is dry, and remove the tape before the caulk dries.
Some painters choose paintbrushes over rollers. This ensures a crisp line. A brush allows more control over the amount of paint applied on the wall and the amount of pressure exerted. Less pressure and the correct amount of paint ensures less bleeding.
Painting Horizontal or Vertical Stripes on the Wall
This video outlines the whole process from start to finish. Seeing the steps in action is beneficial. Following along with this video and these instructions is the easiest way to get the job done without making too many mistakes. Plus, the video has some crucial professional tips.
You are currently viewing a placeholder content from Youtube. To access the actual content, click the button below. Please note that doing so will share data with third-party providers.
How to Remove the Tape
Remove the tape before the paint has thoroughly dried. The paint may peel off if it is dry. Pull at an angle away from the fresher paint and towards yourself. This avoids smearing and bleeding. Pull slowly and carefully.
Now you know how to enliven the state of your outdated walls. With a bit of patience and precision, your room can have a bold, new look.


