How to Prep Walls for Painting | Prepare Room for Paint
Are you getting ready for a painting project at your home? If so, it’s vital that you properly prepare. A step-by-step video published by Sherwin Williams on YouTube gives you all those steps needed in preparing your walls for painting like a professional.
Sherwin Williams Talks Wall Prep Prior to Painting
Getting properly prepared for painting walls in any room means you must take proper steps to ensure that all surfaces are completely clean and dry.
Look over any surface area is not cracked or damaged before you start cleaning. While inspecting rooms where you’ll be painting, double check all surfaces, and look for any patchwork that needs to be done.
You are currently viewing a placeholder content from Youtube. To access the actual content, click the button below. Please note that doing so will share data with third-party providers.
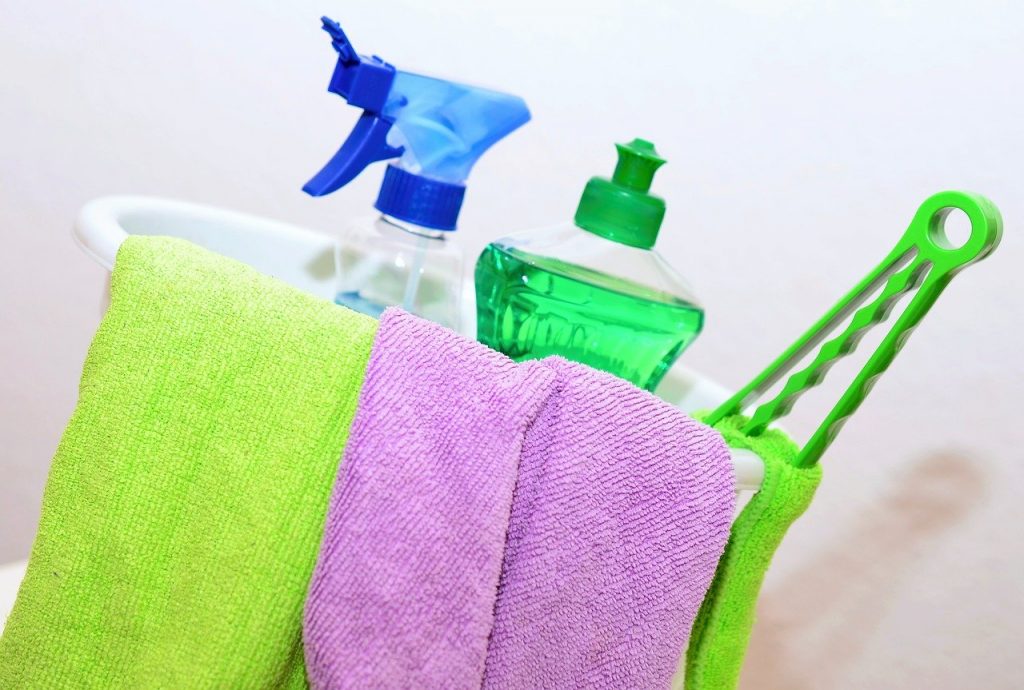
1. Clean surface area of your walls
Using a clean cellulose sponge and lukewarm water with a mild soap will be sufficient. Wipe all surfaces of the wall down in a circular motion, which will ensure the entire area gets clean.
These supplies are best for making sure that paint adheres to your surface. It must be completely free of dirt or smudges. Understanding proper preparation before painting is important. Think clean first!
2. Prep areas you’ll be painting
Regardless of what room you’re painting, you’ll want to make sure areas you’ll be working in have been covered properly to protect it from paint. Measuring surface area is important. Also remove precious objects that could get paint on them.
Traditionally, most folks buy plastic drop cloths because they are much less expensive. However, they can bunch up under your feet, causing you to fall. Old bed sheets are also a favorite, but paint can seep through your sheets when spilled.
Canvas drop cloths are best because they are thicker. They are more expensive but they are durable, they will cover more surface area while you work, and they are not susceptible to paint seeping through onto flooring.
If you can work it into a painting budget, use a canvas drop cloth, covering all precious objects, artwork and flooring. They will last a lot longer, and they can be passed onto friends and neighbors that decide on updating their walls as well.
3. Use painter’s tape for defining what shouldn’t be painted
Prior to applying painter’s tape, make sure surface you’re about to paint is completely dry.
Using painter’s tape is essential for blocking off areas that you don’t wish to paint. Choose a painter’s tape that is wide enough, covering trim and adhering enough that it will stick out a bit.
Using your fingers, press painter’s tape down so you can see where it creases. It will be obvious where trim is defined while doing so. It’s great for identifying where paint strokes should begin and end.
This step in prepping surfaces, helps define surface area that should be painted much better. Use a puddy knife as well. Running the puddy knife along all edges will aid in smoothing it out so lines are defined. Running a finger over tape edges will work too.
4. Applying primer
Applying primer is a key step for painting walls. Now that prep has been done using painter’s tape, primer helps prepare surfaces for actual paint the right way.
Primer is used for covering up old paint or even wallpaper. It seems that wallpaper is popular in kitchens. After having painted a kitchen, you’ll be ready to paint a basement, bathroom and garage like a pro.
Primer is an essential step ahead of using a gloss for interior painting after plaster. This is great prep for removing an old drab look, and covering up a cracked or dirty surface.
Concrete may be cracked in the basement, but sealing it with primer that is waterproof is a great step to improving your home. The right prep can aid in helping prepare cracked for dirty drywall as well.
Whether painting interior or exterior spaces in the home, it’s important to learn how one should prepare for renewing a flaky or greasy surface outside or inside. If s surface is peeling, the proper removal of what’s peeling should take place.
Once you’ve rendered surfaces ready to paint, smoothed out rough spots or even semi textured and uneven spots, it’s time to prime.
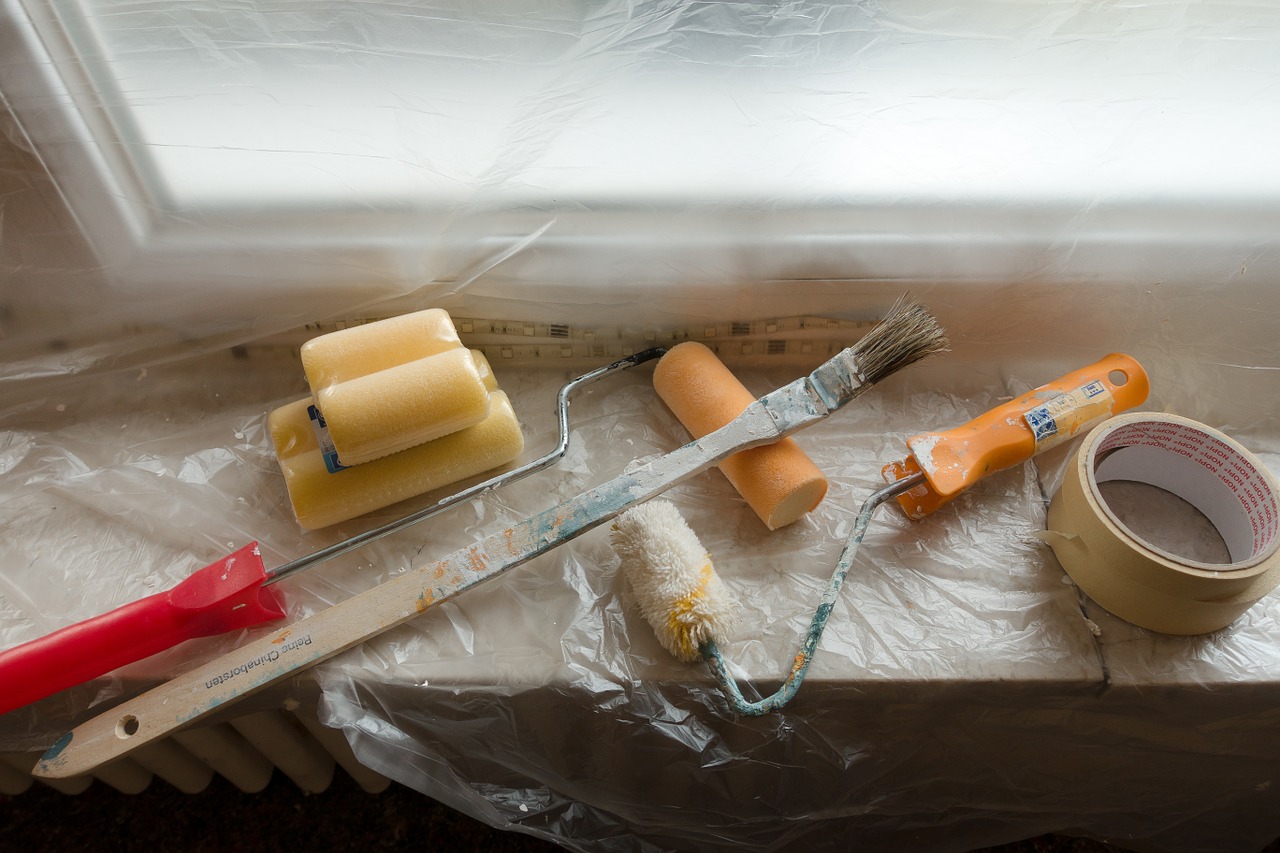
Focus on how you’ll go about bringing out true colors of paint, using a brush for narrow corners. Use soft strokes with a good paint brush. It helps prep surfaces prior to using any color.
Once edges and corners have been painted, take a roller and paint larger areas of interior or exterior spaces. Learning how one should properly apply primer to get a smooth and finished look for all walls is important for long-term coverage.
You are currently viewing a placeholder content from Youtube. To access the actual content, click the button below. Please note that doing so will share data with third-party providers.
5. Caulk your edges
When finding unexpected crevices around your molding, it should be caulked. This will ensure that any open areas are sealed properly prior to painting. Once caulking is dry, what has been painted will have a more finished look.
Take time and learn how pros paint walls. This will help improve any look in any home. Imagine that we are painting a chalkboard. A surface like that requires smooth strokes and 2 or 3 light coats of paint.
This is better than adding too much paint on a brush. Less is more. Sherwin-Williams has been helping homeowners for decades. Painting is much more than a task, it’s a time for using imagination and creation.
Sherwin-Williams has videos that address all aspects of painting walls, interior and exterior surfaces. Whether restoration is what you’re hearts desire is, or it’s just adding some color, there is a video that aids in the process.
Painting doesn’t have to be a daunting task. There is a wealth of information on painting walls just like a professional, and how you’ll go about prepare too.